
Mastering Ableton MIDI Control: Keyboard Rig Setup Guide
Master MIDI control in Ableton Live with our comprehensive guide. Learn to set up keyboards, create custom mappings, and optimize your workflow for music production and live performances. Discover advanced techniques and hardware recommendations for taking your Ableton setup to the next level.
ABLETON LIVE GUIDE
Bona Silitonga
7/23/20244 min read
Mastering Ableton MIDI Control: Keyboard Rig Setup Guide
Introduction: The Power of MIDI Control in Ableton Live
Setting up a powerful MIDI control system for Ableton Live can revolutionize your music production workflow and live performances. As an experienced Ableton user who has run countless keyboard sessions and worked as a playback engineer, I'll guide you through the process of integrating MIDI keyboards and controllers into your Ableton setup. This comprehensive tutorial will help you harness the full potential of MIDI control in Ableton Live, whether you're a beginner or looking to optimize your existing setup.
Before we dive in, it's worth noting that mastering MIDI control can greatly enhance your ability to manipulate audio effects and processing in real-time, giving you unprecedented creative control over your sounds.
Preparing Your Hardware
The first step in setting up your MIDI control system is selecting and connecting the right hardware. Here are some popular MIDI controllers that work exceptionally well with Ableton Live:
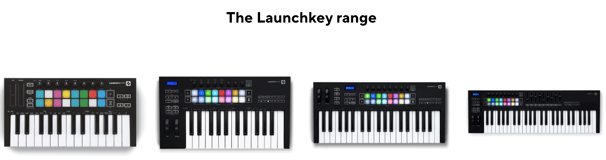
Novation Launchkey: Designed for deep integration with Ableton Live
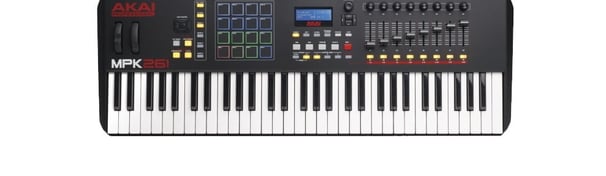
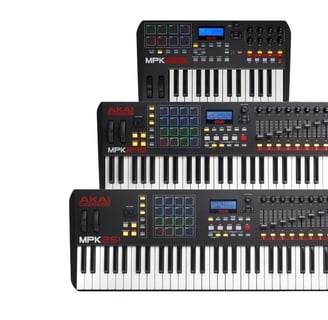
Akai MPK: Known for robust build quality and extensive control options
Once you've chosen your MIDI controller, follow these steps to connect it to your computer:
Connect your MIDI keyboard or controller to your computer using a USB cable or MIDI interface.
If using a USB audio interface, ensure it's properly connected and drivers are installed.
Power on all your devices and launch Ableton Live.
For a more detailed guide on setting up your hardware, check out our comprehensive Ableton Keyboard Rig Setup tutorial.
Configuring MIDI Input in Ableton Live
With your hardware connected, it's time to configure MIDI input in Ableton Live:
Open Ableton Live and go to Preferences (Ctrl+, or Cmd+,).
Click on the "Link/MIDI" tab.
In the MIDI Ports section, enable "Track" and "Remote" for your MIDI controller.
If your controller has a dedicated Ableton Live mode, enable it now.
Creating Custom MIDI Mappings
Custom MIDI mappings allow you to assign specific controls on your MIDI controller to parameters in Ableton Live. Here's how to create them:
Click the MIDI Map Mode switch in the upper right corner of the Live interface or press Ctrl+M (Cmd+M on Mac).
Click on the parameter you want to control in Ableton.
Move the knob, slider, or button on your MIDI controller that you want to assign to that parameter.
Repeat for all desired mappings.
Exit MIDI Map Mode when finished.
Remember, you can save your MIDI mappings as part of your Live Set or create a default template for quick access in future projects.
Optimizing Your Ableton Template for Live Performance
Creating a well-organized template is crucial for smooth live performances. Consider the following tips:
Set up instrument racks with your most-used sounds and effects chains.
Organize your session view for quick access to different parts of your performance.
Create performance-ready scenes and clips that can be triggered easily.
Utilize Ableton's built-in MIDI effects to enhance your control capabilities.
For more advanced techniques and tips on optimizing your Ableton Live setup, check out our Music Production Journal.
Advanced MIDI Techniques for Live Sessions
Once you've mastered the basics, consider these advanced techniques to take your MIDI control to the next level:
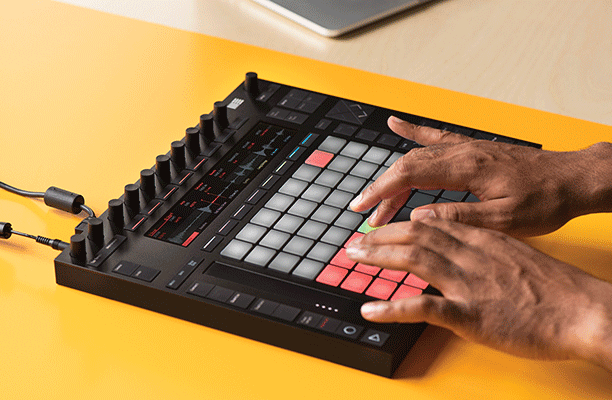
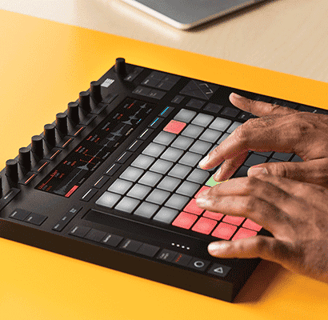
Ableton Push 2: Unique control surface for deep Ableton Live integration
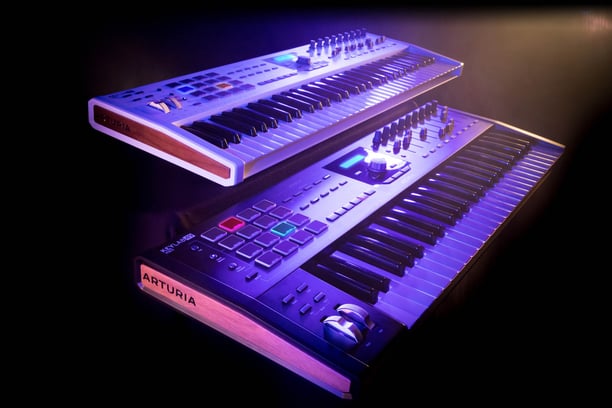
Arturia KeyLab: High-quality keys with extensive control options
Implement MIDI clock sync for tempo-based effects and external gear.
Explore Max for Live devices for custom MIDI routing and processing.
Use MIDI to control complex effect chains, such as those described in our guide on modulated delay effects.
Conclusion: Elevate Your Ableton Live Experience with MIDI Control
Mastering MIDI control in Ableton Live opens up a world of creative possibilities, from intricate sound design to dynamic live performances. By following this guide, you've learned how to set up your MIDI keyboards and controllers, create custom mappings, and optimize your Ableton session for seamless integration with your hardware.
Remember, the key to a great MIDI setup is experimentation and personalization. Don't be afraid to try different configurations and mappings until you find what works best for your workflow. As you continue to explore, you might want to check out our guides on mixing software and delay plugins to further enhance your Ableton Live productions.
With your MIDI control system dialed in, you're now equipped to take your music production and live performances to new heights. Keep practicing, stay creative, and let your MIDI-powered Ableton Live setup be the conduit for your musical expression!
Connect
bonasilitonga@bedroomtostage.com