How to Properly Mic Your Drum Kit - Guide for Beginners
Let's Learn Step-by-step instructions on properly micing your drum kit. Enhance your drum sound with our beginner-friendly guide.
RECORDING GUIDES
Bona Silitonga
5/5/20246 min read
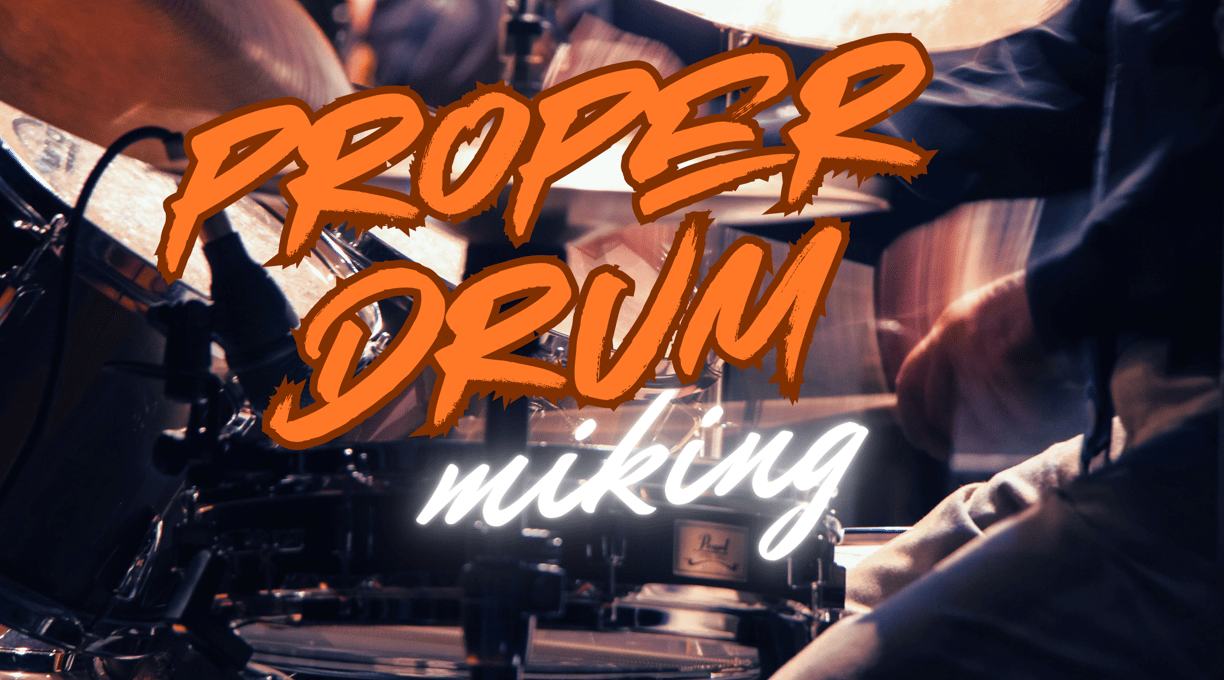

If you're a beginner looking to record your drum kit, one of the most crucial aspects to getting a great sound is properly miking your drums. Microphone selection and placement can make a world of difference in capturing the full dynamics, tone, and power of your rhythmic performance. In this comprehensive guide, we'll walk through the essential concepts and techniques to help you achieve a professional-sounding drum recording.
Understanding Your Drum Kit Elements
Before diving into microphone placement, it's important to understand the key elements of your drum kit and their individual sonic characteristics. A standard drum kit typically consists of the following:
1. Snare Drum:
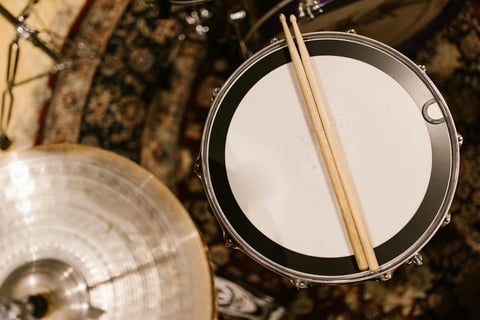
The snare drum is the centerpiece of most drum grooves and requires careful miking to capture its sharp attack, crisp tone, and the iconic snare wire rattle from the resonator head.
2. Kick Drum:
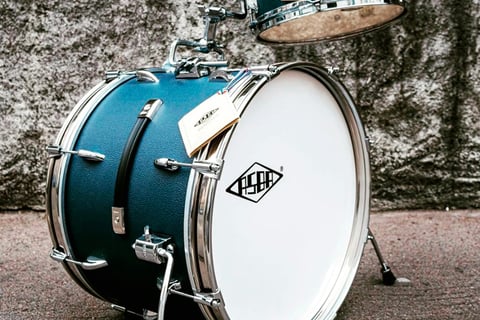
Providing the low-end thump, the kick drum is essential for driving the rhythm forward. Proper microphone placement near the batter head and resonator head can capture the attack and depth of the kick.
3. Toms (Tom-Toms):
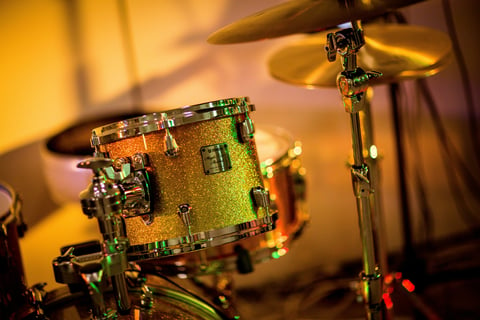
Toms fill out the middle frequencies and add depth to fills and transitions. Close miking each tom-tom helps showcase their individual tonality, attack, and resonance from the resonator head.
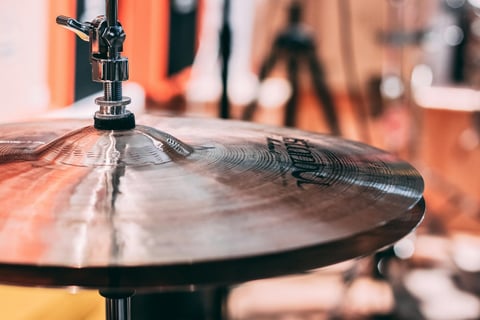
4. Hi-Hat:
The hi-hat cymbals provide constant time-keeping and can be challenging to capture distinctly due to their proximity to other cymbals and drums, leading to potential spill.
5. Overheads:
Overhead microphones capture the overall sound of the drum kit, including the cymbals, and provide a sense of space, air, and stereo imaging to compliment the close-miked elements.
Choosing the Right Microphones
Selecting the appropriate microphones for each drum kit element is crucial. Here are some general guidelines:
Dynamic Microphones: Dynamic mics like the Shure SM57 are popular for close-miking drums, especially snare drums and tom-toms. They can handle high sound pressure levels and provide a punchy, focused sound, and can be great too for your drums if your environment is not suitable for recording (too much reverb going on), especially for live performance. To Find some mics suited for this, head over to this guide.
Condenser Microphones: Condenser mics are often used as overheads or room mics due to their sensitivity and ability to capture a wider frequency range. They excel at reproducing the nuances and airiness of cymbals and the overall drum kit sound. Typically Condenser Mics are used when miking Crash, Ride, Hihat, China, and other cymbal variants that have a very high sibilance and power in the upper frequencies, but in order to get such a sound, the Condenser Mics have to be placed approximately quarter of half a meter, so with that the Condenser Mics that operate as Overheads can capture the high frequencies of the Cymbals properly without absorbing too much sibilance and proximity.
Microphone Polar Patterns: Cardioid polar patterns are commonly used for drum microphones, as they focus on the sound source directly in front while rejecting sound from the sides and rear. This helps minimize bleed from other drums and cymbals.
Microphone Placement Techniques Now that you've selected your microphones, it's time to position them for optimal sound capture. Here are some key placement techniques:
Snare Drum:
Top Mic: Place a dynamic mic like an SM57 about 1-2 inches above the rim of the snare drum, angled down towards the center of the batter head. Experiment with the exact position to find the right balance of attack, body, and extreme sound pressure handling.
Bottom Mic: To capture the snare wires' sizzle and the resonance from the resonator head, place a small diaphragm condenser mic a few inches below the snare, angled up towards the bottom head.
Kick Drum:
Place a dynamic kick drum mic like a Shure Beta 52A or AKG D112 inside the kick drum, a few inches from the batter head and slightly off-center. Angle it towards the beater for more attack or towards the center of the resonator head for a fuller, deeper sound.
Tom-Toms:
Position dynamic mics 1-2 inches above the rim of each tom-tom, angled down towards the center of the batter head. Adjust the distance and angle to find the desired balance of attack, sustain, and capturing the resonance from the resonator head. Use the close miking technique to isolate each tom-tom's individual signal.
Hi-Hat:
Place a small diaphragm condenser mic 6-8 inches above the hi-hat cymbals, slightly angled down. Be mindful of the proximity to the snare mic to minimize hi-hat spill and achieve a clean, distinct hi-hat sound.
Overheads:
Use a matched pair of condenser mics in a spaced pair or X/Y configuration for the overheads. Place them 1-2 feet above the cymbals, equidistant from the snare drum. This captures the overall drum kit sound, cymbals, and provides a balanced stereo image to complement the close-miked elements.
Room Mics:
For additional depth and ambiance, place a pair of condenser mics at room distance from the drum kit, facing towards the kit. Experiment with positioning to find the desired balance of direct sound and room reflections to enhance the overall drum sound.
Fine-Tuning Your Drum Sound
Before hitting record, take time to fine-tune your drum sound at the source:
Tune your drums to achieve the desired pitch, resonance, and tonal balance. Well-tuned drums make the miking process much easier and result in a better overall sound.
Use dampening techniques like moon gels, tea towels, or felt strips to control excessive ring, overtones, and sustain on drums like toms and snares.
Experiment with different drumheads to find the right balance of attack, sustain, tone, and sensitivity for your specific drum kit and miking setup.
Additional Tips and Tricks
Use a high-pass filter (HPF) on individual drum mics to reduce low-end rumble, clean up the overall mix, and avoid muddiness in the final recording.
Experiment with small adjustments in microphone angles and distances to find the sweet spot for each drum, optimizing the capture of its unique character and tone.
Use a trusted reference recording of a professional drum sound you admire to guide your miking decisions and serve as a benchmark for your own recording.
Trust your ears and musical instincts! Don't be afraid to deviate from conventional techniques if it sounds good to you and serves the musical context.
Pay attention to microphone hygiene and maintenance. Regularly clean your microphones, especially those in close proximity to drums, to ensure optimal performance and longevity.
The Role of a Recording Engineer or Producer While it's essential to understand the fundamentals of drum miking as a drummer, collaborating with an experienced recording engineer or producer can take your recordings to the next level. They bring expertise in microphone selection, placement techniques, and creating the ideal recording environment to capture the best possible drum sound. A skilled engineer or producer can help you navigate the intricacies of mic placement, phase coherence, and mixing techniques to ensure a polished, professional-sounding drum recording.
Continuous Learning and Experimentation Miking a drum kit is an art that requires ongoing learning, experimentation, and refinement. As you gain more experience and work with different drum kits, microphones, and recording environments, you'll develop a deeper understanding of how each variable affects the final sound. Embrace the process of trial and error, and don't be afraid to try unconventional techniques or microphone placements. Each recording session is an opportunity to learn, grow, and discover new ways to capture the perfect drum sound.
Conclusion
Properly miking your drum kit is a crucial skill for any drummer looking to achieve professional-sounding recordings. By understanding your drum kit elements, selecting the right microphones, and applying strategic placement techniques, you'll be well-equipped to capture the full dynamics, tone, and energy of your performances. Remember, the key to success lies in experimentation, attention to detail, and trusting your ears. Use this guide as a solid foundation, but don't be afraid to adapt and innovate based on your specific needs and creative vision. With practice, patience, and a willingness to learn, you'll be able to craft drum recordings that showcase your unique style and musicality. Happy drumming and recording!





Connect
bonasilitonga@bedroomtostage.com
